

If you’re looking for an efficient way to track your company’s expenses, then this is the right article for you! Accounts payable is an accounting term that refers to money owed by a company or individual to suppliers or others who have done business with them. It may also refer to money owed by the company, business owner, or individuals.
Using an accounts payable aging report can help business owners manage their books. It’s a valuable tool for tracking the amount of expenses paid versus owed. And, it helps provide insight into when payments are overdue and the steps needed for them to be paid off in full.
How to use an Accounts payable Aging Report in QuickBooks Online
A QuickBooks Online aging report is like having a money management dashboard in your hand. In the next section, we will show you how to set up the aging report. The aging report allows you to view your Accounts payable balance as of any specific day or date (or range of dates). Using the Aging Summary Report below, helps identify accounts payable amounts over 30 days old for your review.
These are the steps you’ll need to take to run an Accounts payable aging report:
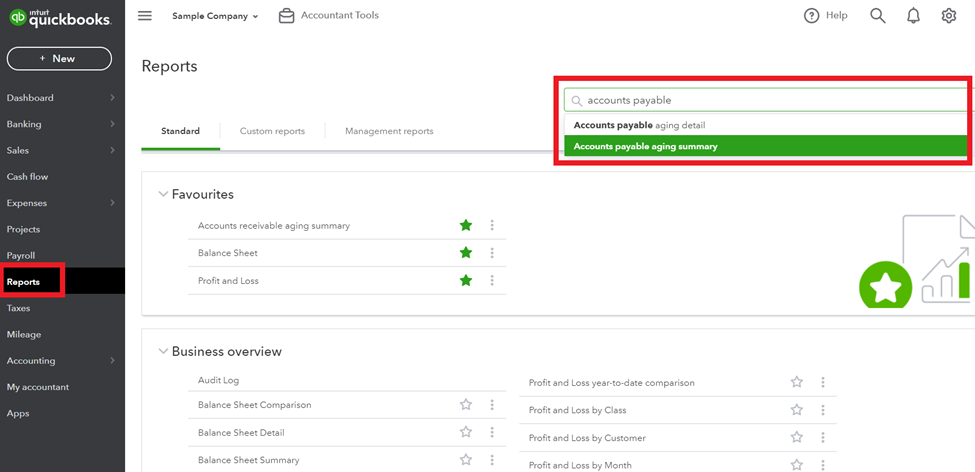
1) Left-hand side > click on Reports > In the search bar in the upper right-hand corner, type in “Accounts payable” and select either Accounts payable aging summary or Accounts payable aging detail > in this example, we will be choosing the Accounts payable aging summary
2) On the next page > filter for date. For instance, you can choose either “Today” or a specific date range. With date range selected > click “Run Report” located on the right-hand side.
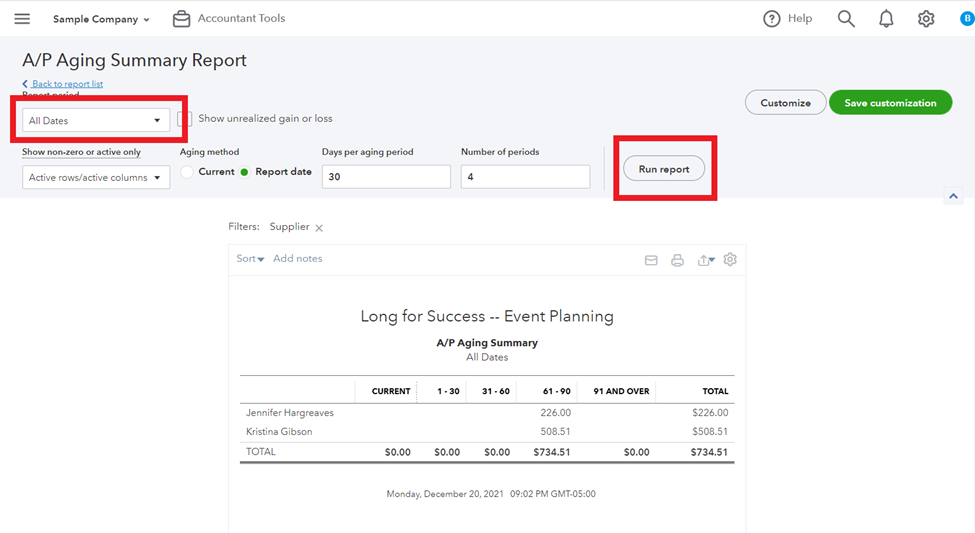
3) To view the amounts owed > click directly on the vendor names or the dollar amounts. For this example >click on “226” owed to “Jennifer Hargreaves.”
If you want to change the filters, you can click on the report’s gear icon “Settings” at the top right-hand corner. Doing this will open a new window with additional information on the amount owed. Once you’ve selected your filters, select “Next” again.

4) The last steps include:
- Saving or exporting the data that you want to analyze
- Correcting amounts or applying vendor credits, or payments against the amounts
- Following up with the vendor, paying the vendor, or agreeing to a payment plan